
From fueling up in the frigid Canadian north to sampling pastries in European cafés, our travels wouldn’t be the same without memorable meals. Here you’ll find everything that’s keeping us fed (and happy) on the journey—snacks, street food, and the occasional home-cooked feast. Consider this your backstage pass to our evolving menu on the road!
Introducing the Berry Seed Delight Breakfast: Perfect for the Road
While traveling, maintaining a nutrient-dense diet can be a challenge, especially when you're used to getting your fill from quick smoothies. Seeking a solution that would slow us down just a bit—but not too much—I created the Seedy Yum Yum Breakfast. Despite its modest appearance, this meal is surprisingly tasty and packs a hearty nutritional punch.
This breakfast is a powerhouse blend of seeds and other wholesome ingredients that not only satisfy the taste buds but also promote smooth digestion—a real plus when traveling! The true beauty of this meal lies in its simplicity and its effectiveness in keeping our digestive health on track while on the road. It's the perfect start to a day of adventure, ensuring we're fuelled up and ready to go without any digestive distractions. Enjoy the journey and the meal!
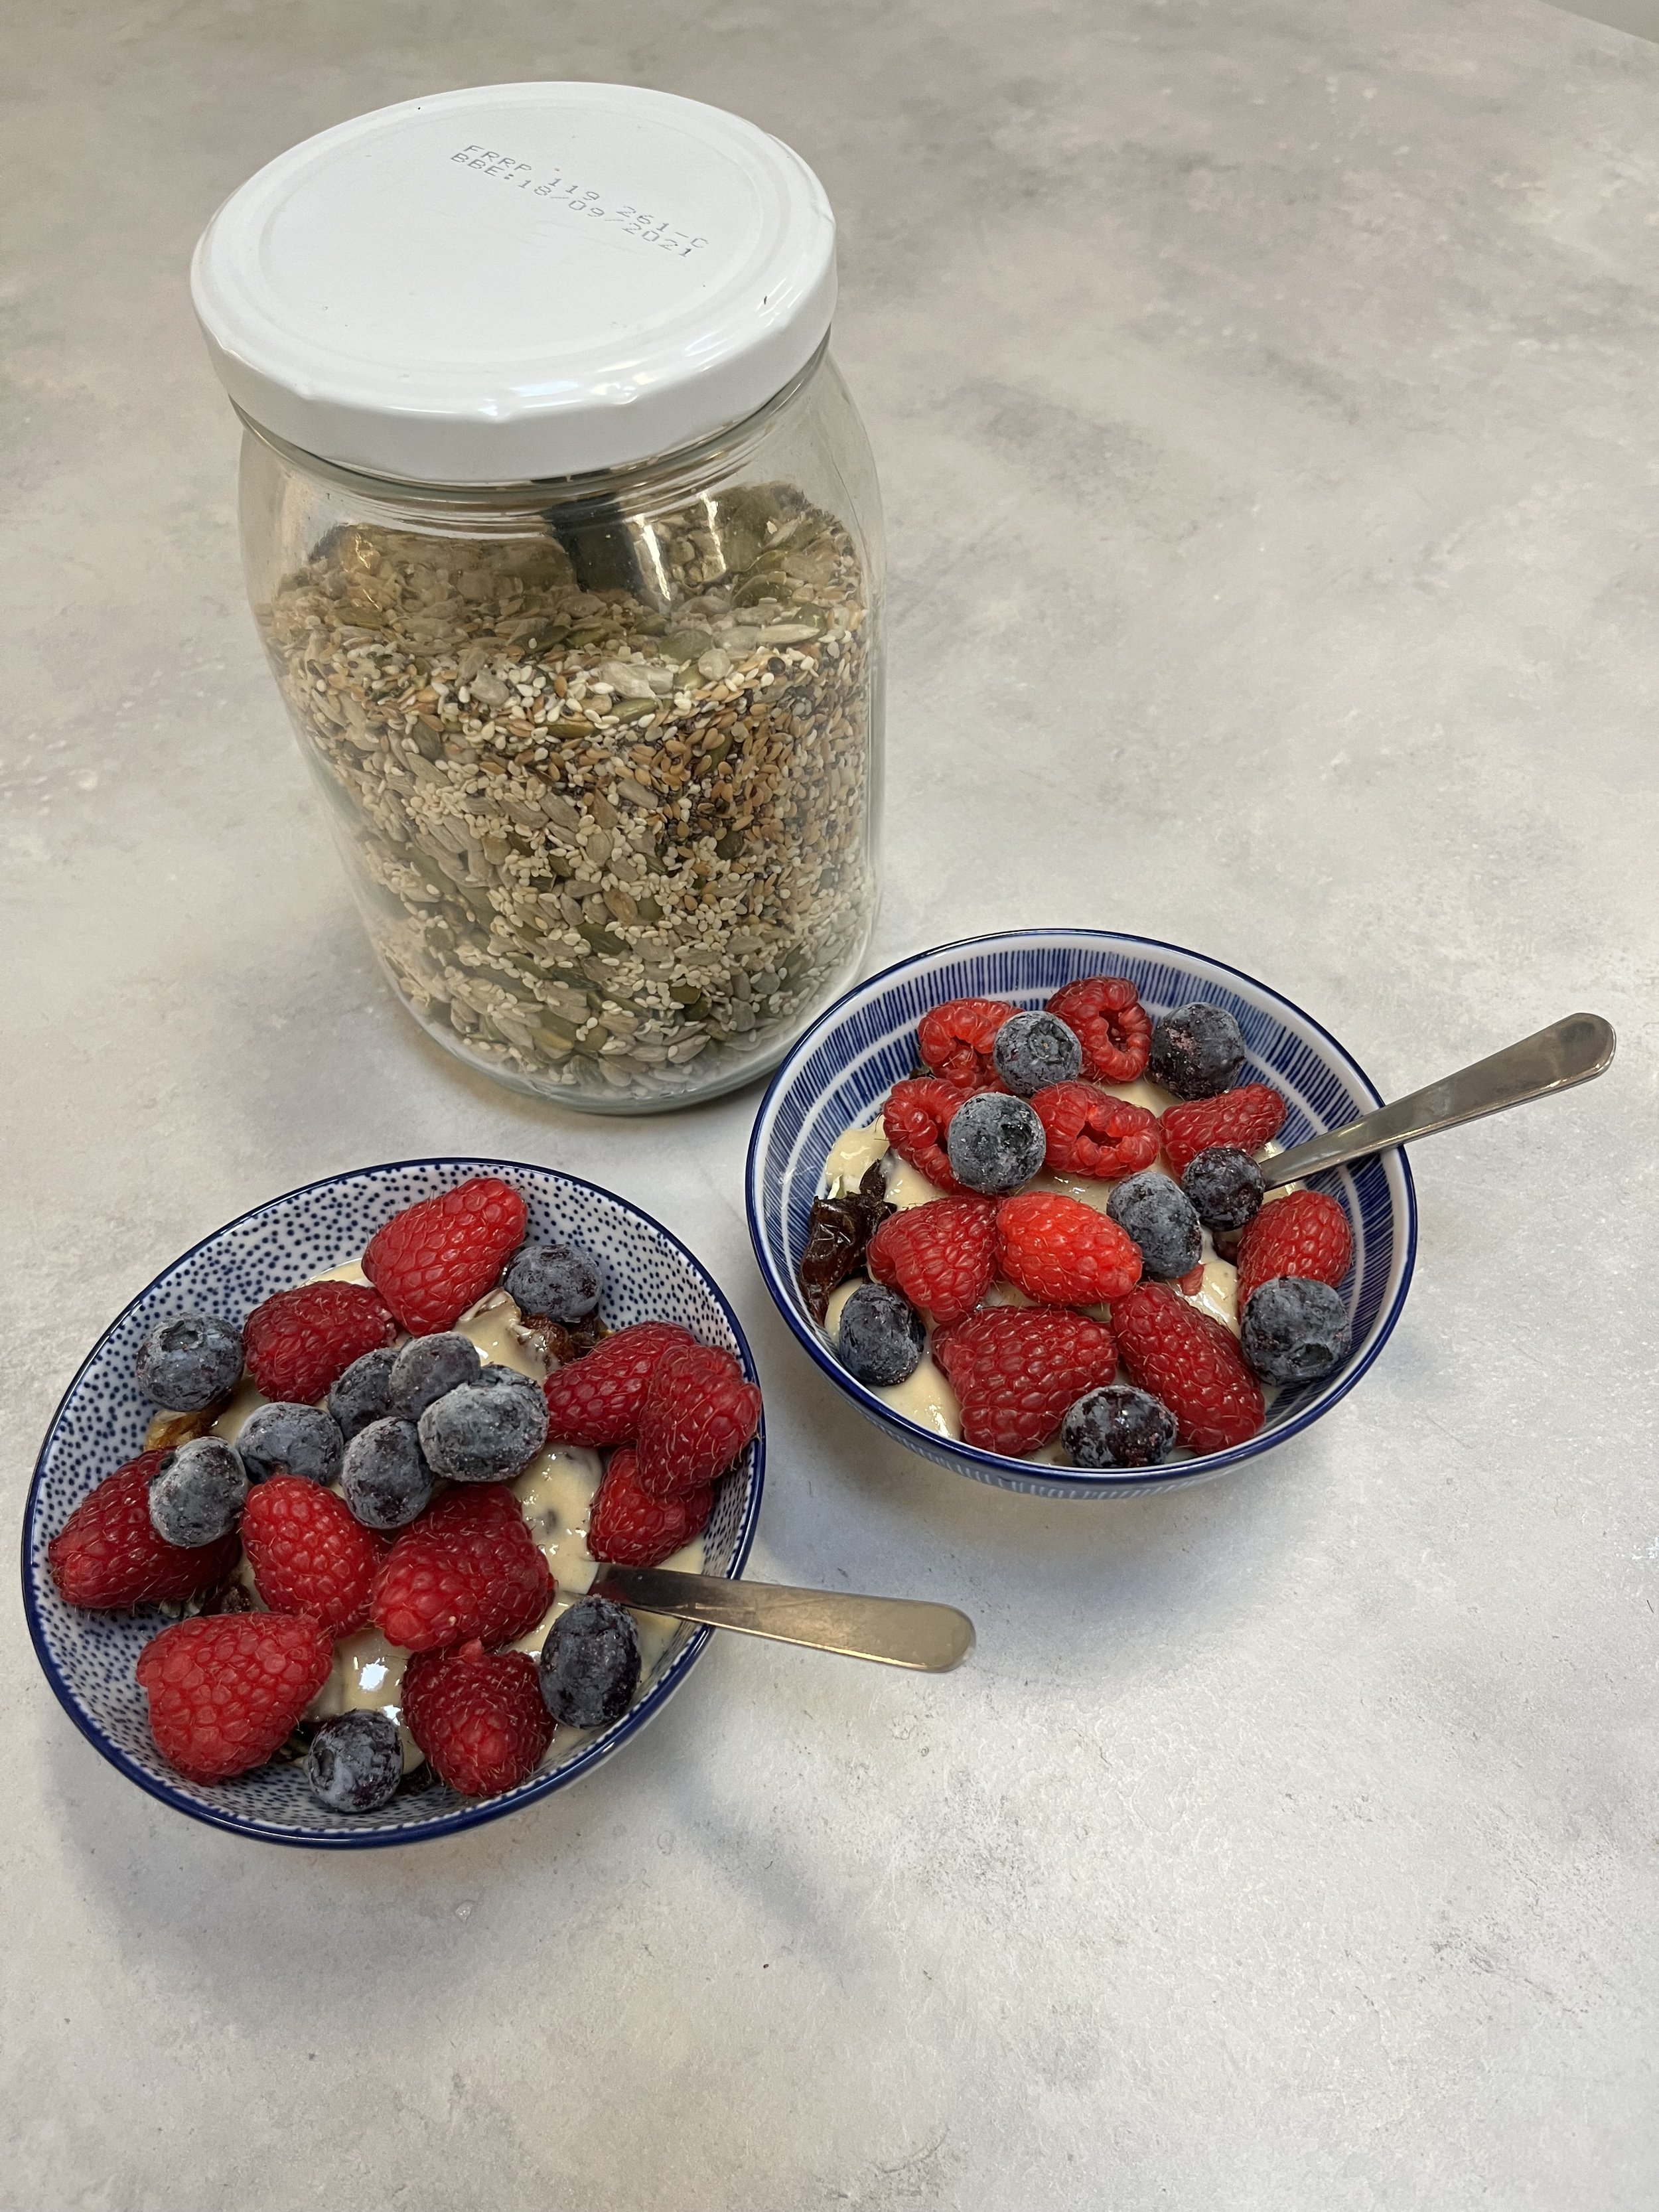
Berry Seed Delight Breakfast
Ingredients:
3.5 tbsp seed mix (comprising equal parts of flax seeds, chia seeds, sesame seeds, hemp hearts, pumpkin seeds, and sunflower seeds)
1 tbsp ground flax
2 tbsp tahini
2 dates, pitted and chopped
1/4 cup blueberries
1/4 cup raspberries
Instructions:
Prepare the Seed Mix:
Combine equal parts of flax seeds, chia seeds, sesame seeds, hemp hearts, pumpkin seeds, and sunflower seeds to make your total of 3.5 tablespoons.
Toast the Seeds:
In a dry skillet over medium heat, lightly toast the mixed seeds, stirring constantly until they are lightly golden and aromatic, about 3-5 minutes. Remove from heat and allow to cool.
Mix the Base:
In a mixing bowl, combine the toasted seed mix with the ground flax. Stir in the tahini to create a slightly sticky base.
Add Sweetness and Texture:
Incorporate the chopped dates into the seed mixture, ensuring they are evenly distributed to add natural sweetness and a chewy texture.
Fold in the Berries:
Gently add the blueberries and raspberries, careful not to crush them, to bring a burst of freshness to the dish.
Serve:
Enjoy this Berry Seed Delight as is, or with a dollop of yogurt or a splash of your favourite milk alternative for extra creaminess. (I’ve tried it with oat milk and it’s quite lovely - with bonus of being able to eat it faster and take a break from the stickiness - haha)
Notes:
This recipe is versatile; feel free to adjust the types and proportions of seeds according to your taste or what’s available in your pantry.
The breakfast can be made ahead and stored in an airtight container, ideal for quick, nutritious starts on busy mornings.
Approximate Nutritional Values:
Calories: Approximately 430-480 calories
Protein: about 15-18 grams
Fat: Still around 30-35 grams
Carbohydrates: about 30-35 grams
Fiber: around 9-11 grams
Sugars: about 15-17 grams
Vitamins and Minerals:
Vitamin C
minerals: iron, calcium, and magnesium
Key Benefits:
Omega-3 fatty acids: Beneficial for heart health and inflammation, primarily from flax seeds and chia seeds.
Fiber: Promotes digestive health and helps maintain steady blood sugar levels.
Antioxidants: Blueberries and raspberries offer powerful antioxidants to combat oxidative stress and inflammation.
Wanderlust Ramen Booster Recipe
Ingredients:
4 sheets of kombu seaweed
1 cup dried shiitake mushrooms
2 tbsp rice seasoning shakers (e.g., furikake)
Instructions:
Prepare the Blend:
Break the kombu sheets into smaller pieces. Combine with dried shiitake mushrooms in the container of your Vitamix or another powerful blender.
Blend into Powder:
Pulse the kombu and shiitake mushrooms until they form a fine powder. Add the rice seasoning and blend again until everything is uniformly mixed.
Store:
Transfer the powder to an airtight container for easy travel and use.
To Prepare Ramen:
In a jar, place gluten-free ramen noodles and cover with boiling water. Let sit for about 20 minutes.
Use a sprouting lid or fine strainer to drain the noodles.
Add more boiling water to the drained noodles along with 1 tbsp of the Wanderlust Ramen Booster, dried shiitake mushrooms, chopped veggies (carrot, broccoli, shallot), and a sprinkle of wakame.
Let the mixture sit until the vegetables are tender and the broth is flavourful.
Nutrient Breakdown:
The nutritional content of your Wanderlust Ramen Booster will primarily come from the kombu, shiitake mushrooms, and rice seasoning:
Kombu: Rich in iodine, which supports thyroid function, and also a good source of minerals like magnesium, calcium, and iron.
Dried Shiitake Mushrooms: Provide B vitamins, vitamin D (especially if sun-exposed), selenium, and important amino acids.
Rice Seasoning (Furikake): Typically includes sesame seeds and seaweed, adding additional vitamins and minerals.
Approximate Nutrients in 1 tbsp of Booster:
Calories: 30-40
Protein: 2 grams
Carbohydrates: 8 grams (largely from dietary fiber)
Dietary Fiber: 3-4 grams
Fat: Less than 1 gram
Significant Micronutrients: Vitamin D, iodine, selenium, B vitamins
This Wanderlust Ramen Booster is not only a convenient solution for on-the-road meals but also packs a nutritious punch that can enhance your energy and overall well-being during your travels. Enjoy your flavourful and hearty ramen wherever your adventures take you!